When you have a collection of art, it can seem daunting to group and arrange them in the best possible way. Of course, there won’t be one correct way to do it, but exploring the options will help you settle on the placement that look best to you and make the most out of your gallery wall.
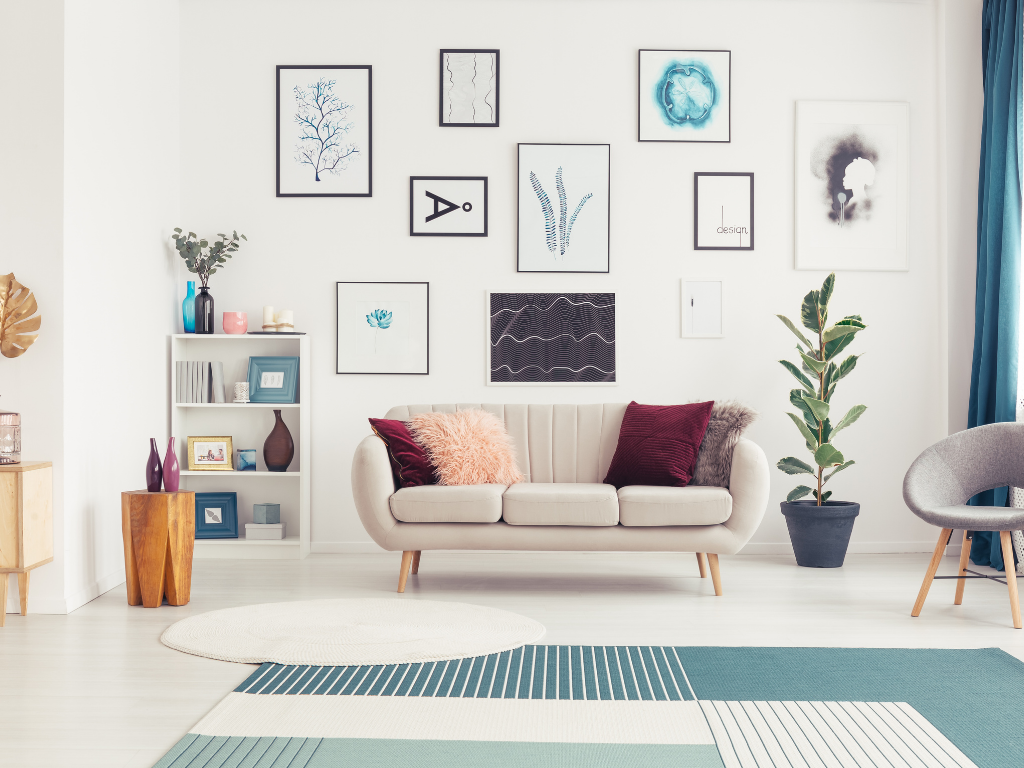
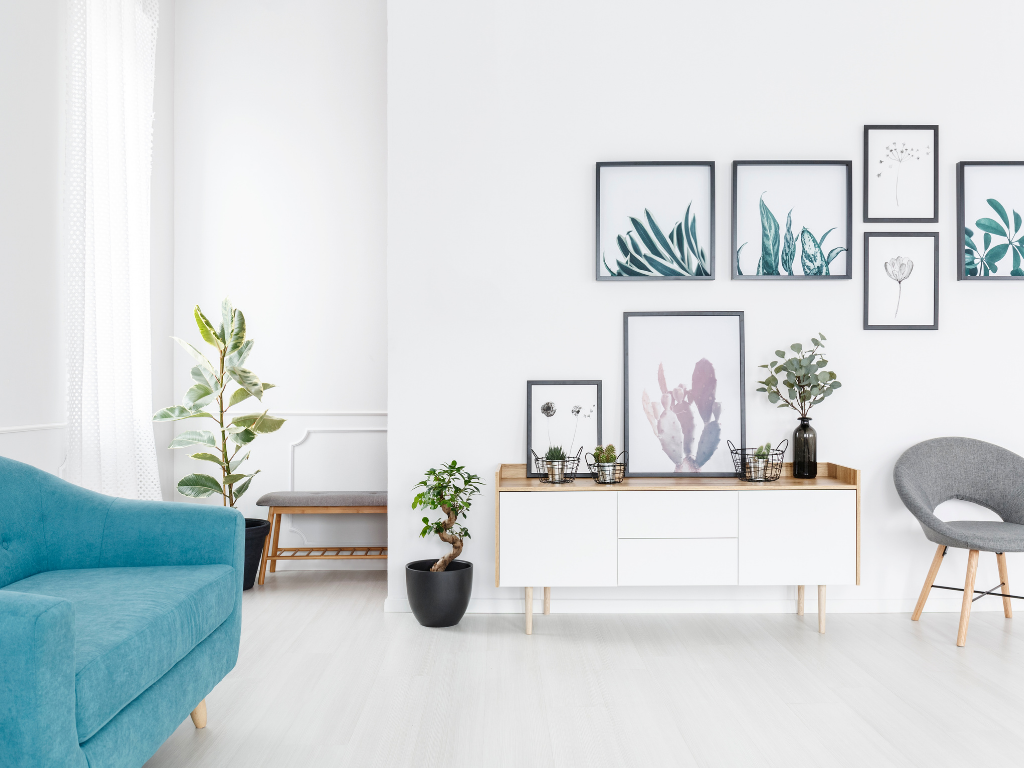
A good starting point is to look for a common element that can tie them together. It may be similar colours, similar art styles, the frames or mats may share materials or colours as well. There may not be any commonalities but that doesn’t mean you can pull off a great grouping of art.
Once you have determined which pieces you’re comfortable grouping together, you can lay your pieces out on the floor and play with the arrangements until you find a composition you like. To pinpoint the height and location of your grouping on your wall, trace the outline of the art pieces onto a sheet of paper and cut them out. Once that’s done you can apply a small amount of low tack painter tape to the paper cut outs and place them on the wall. Shift them around until you get everything just where you want.
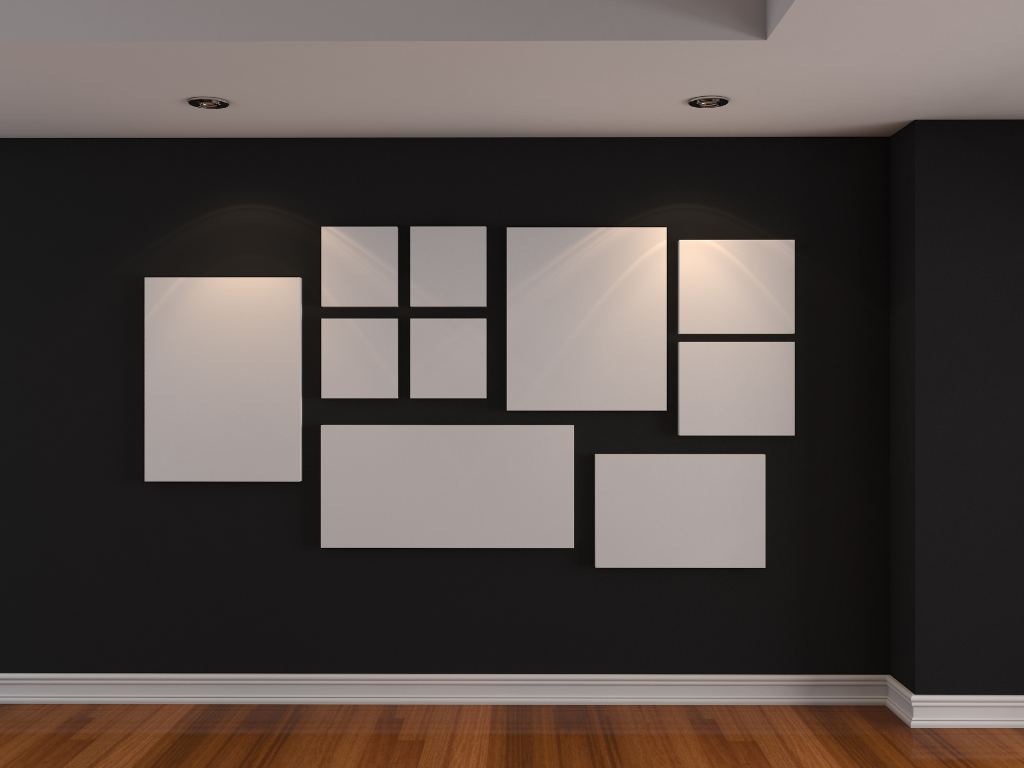
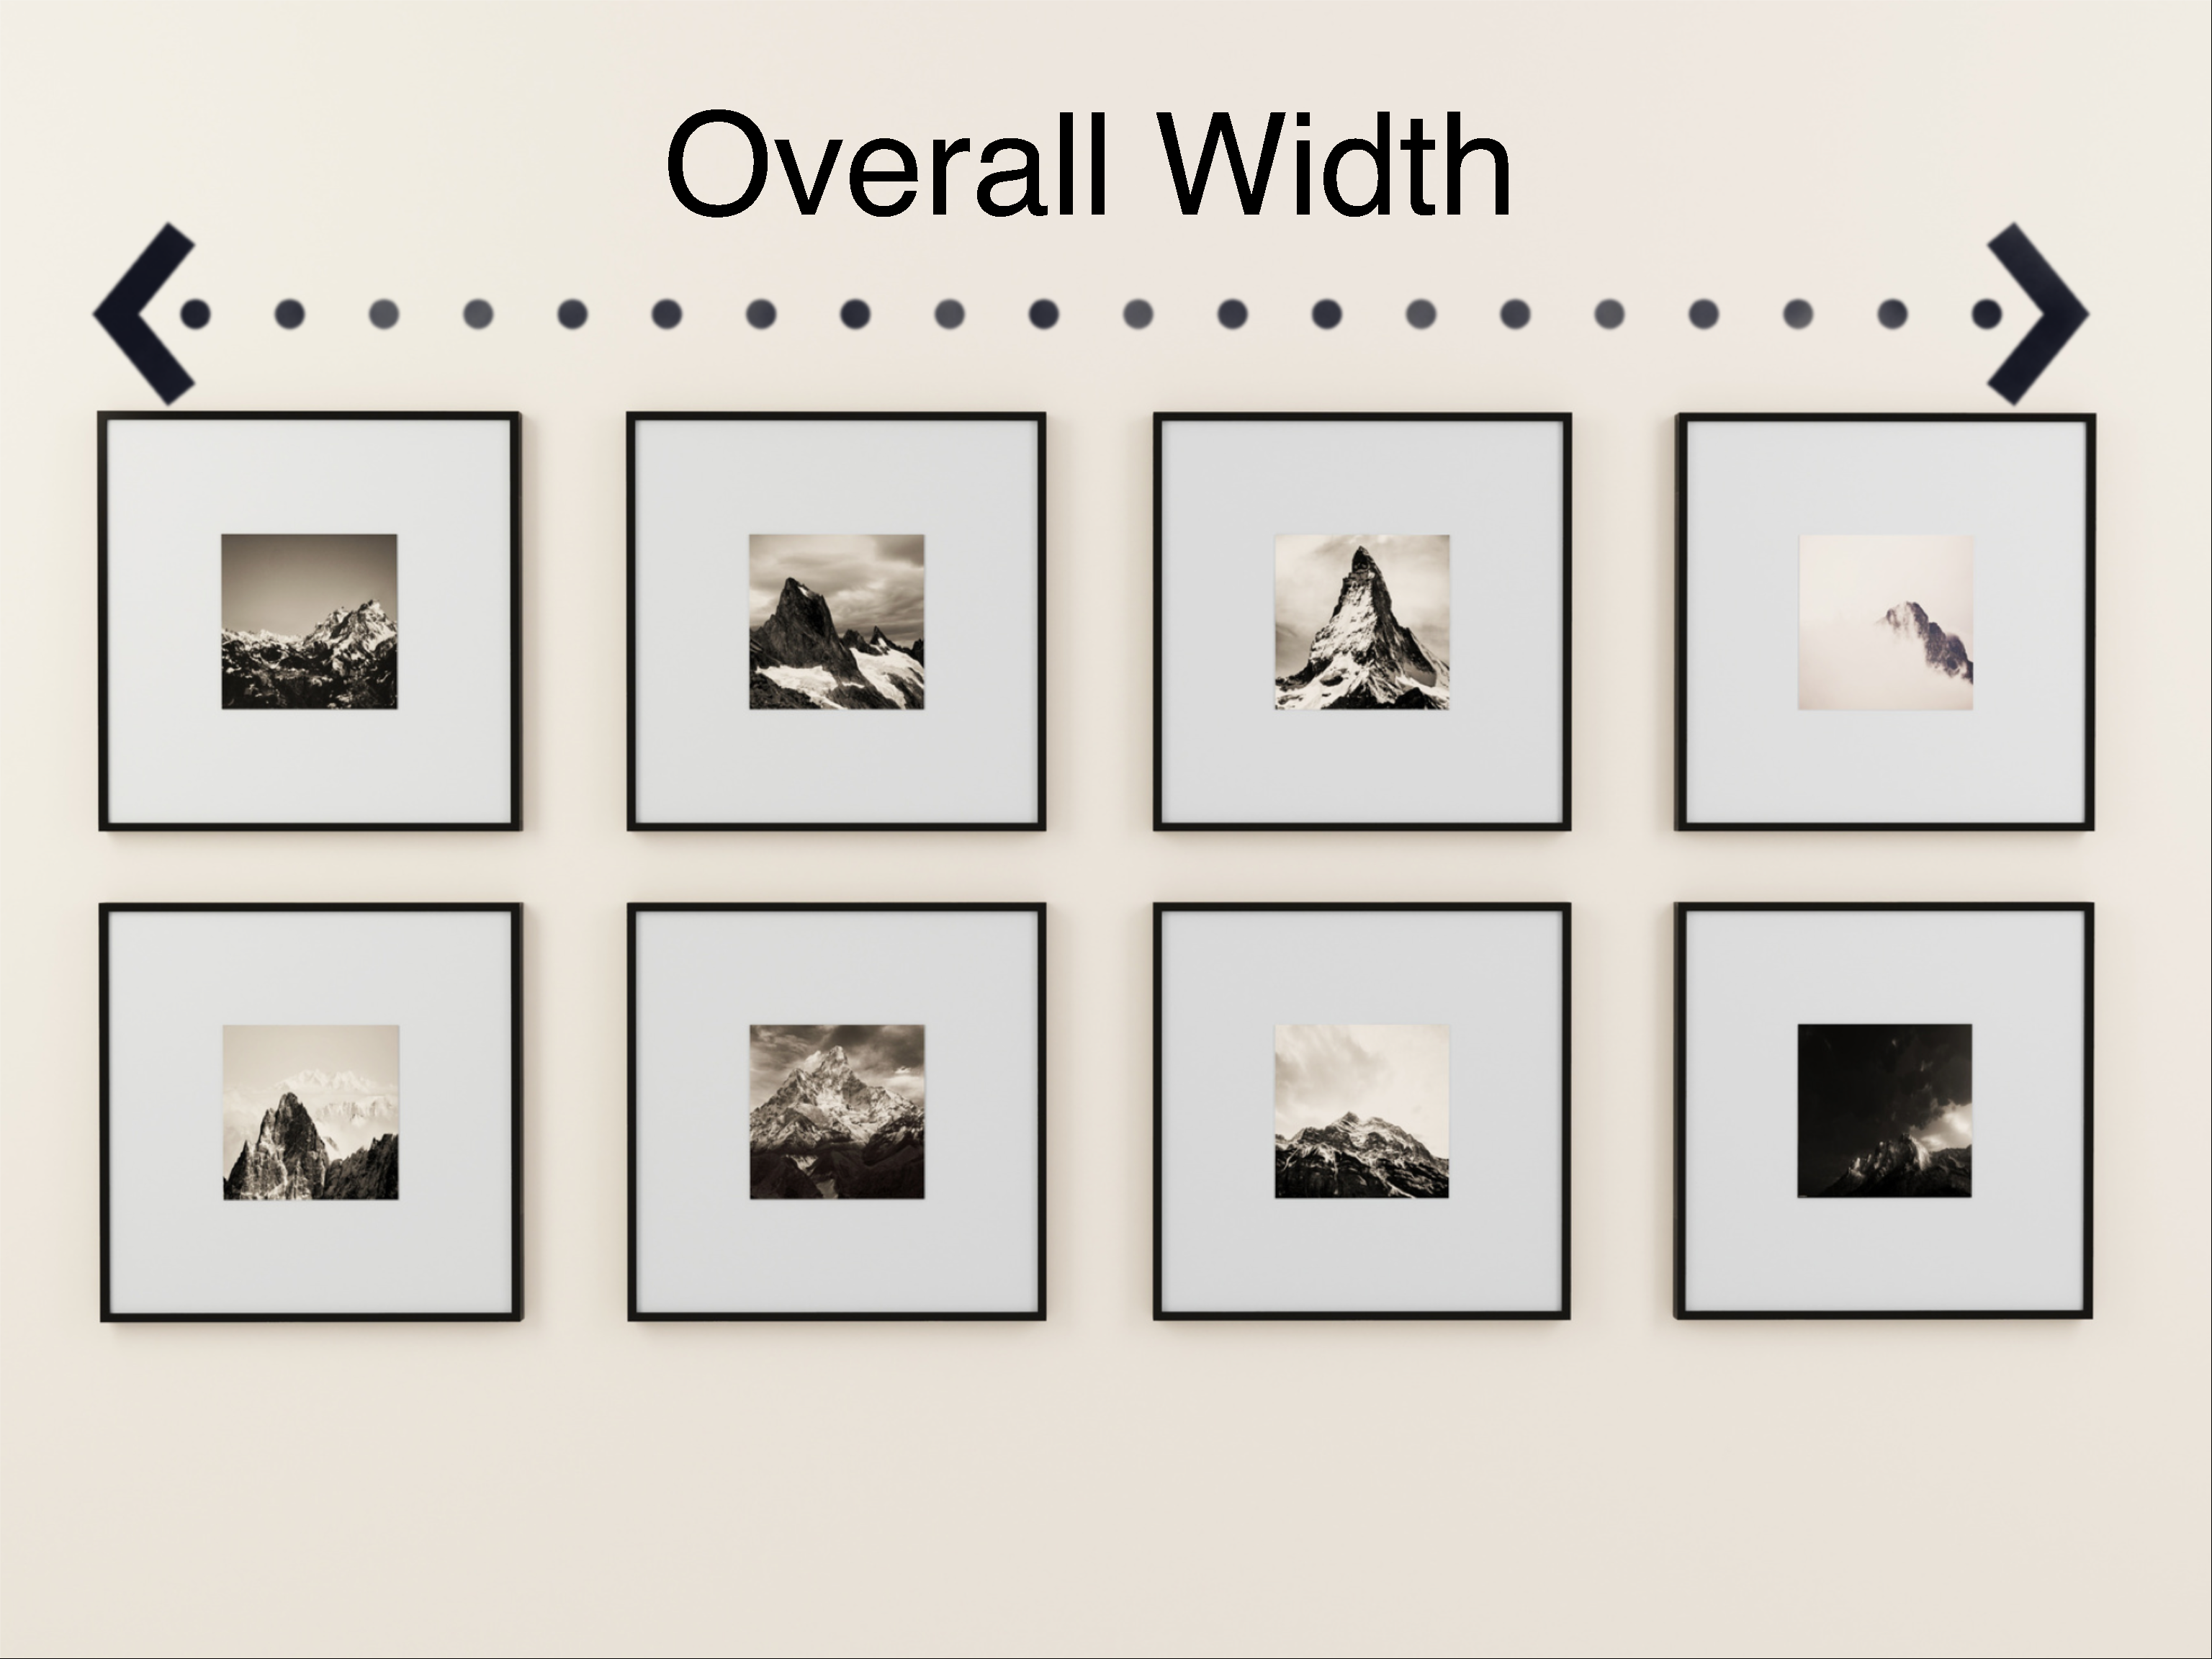
For symmetrical arrangements its best to leave between 2” – 4” of space in between each picture frame. Once you have your cut-outs taped in their relative positions, measure the overall width that the paper frame cut-outs occupy. Once you have the width, divide the number by 2. For example, if the overall width your art will take up it 10 feet, your divided space would be 5 feet. Mark your halfway point with a pencil at the top and bottom of your paper frame cut out area.
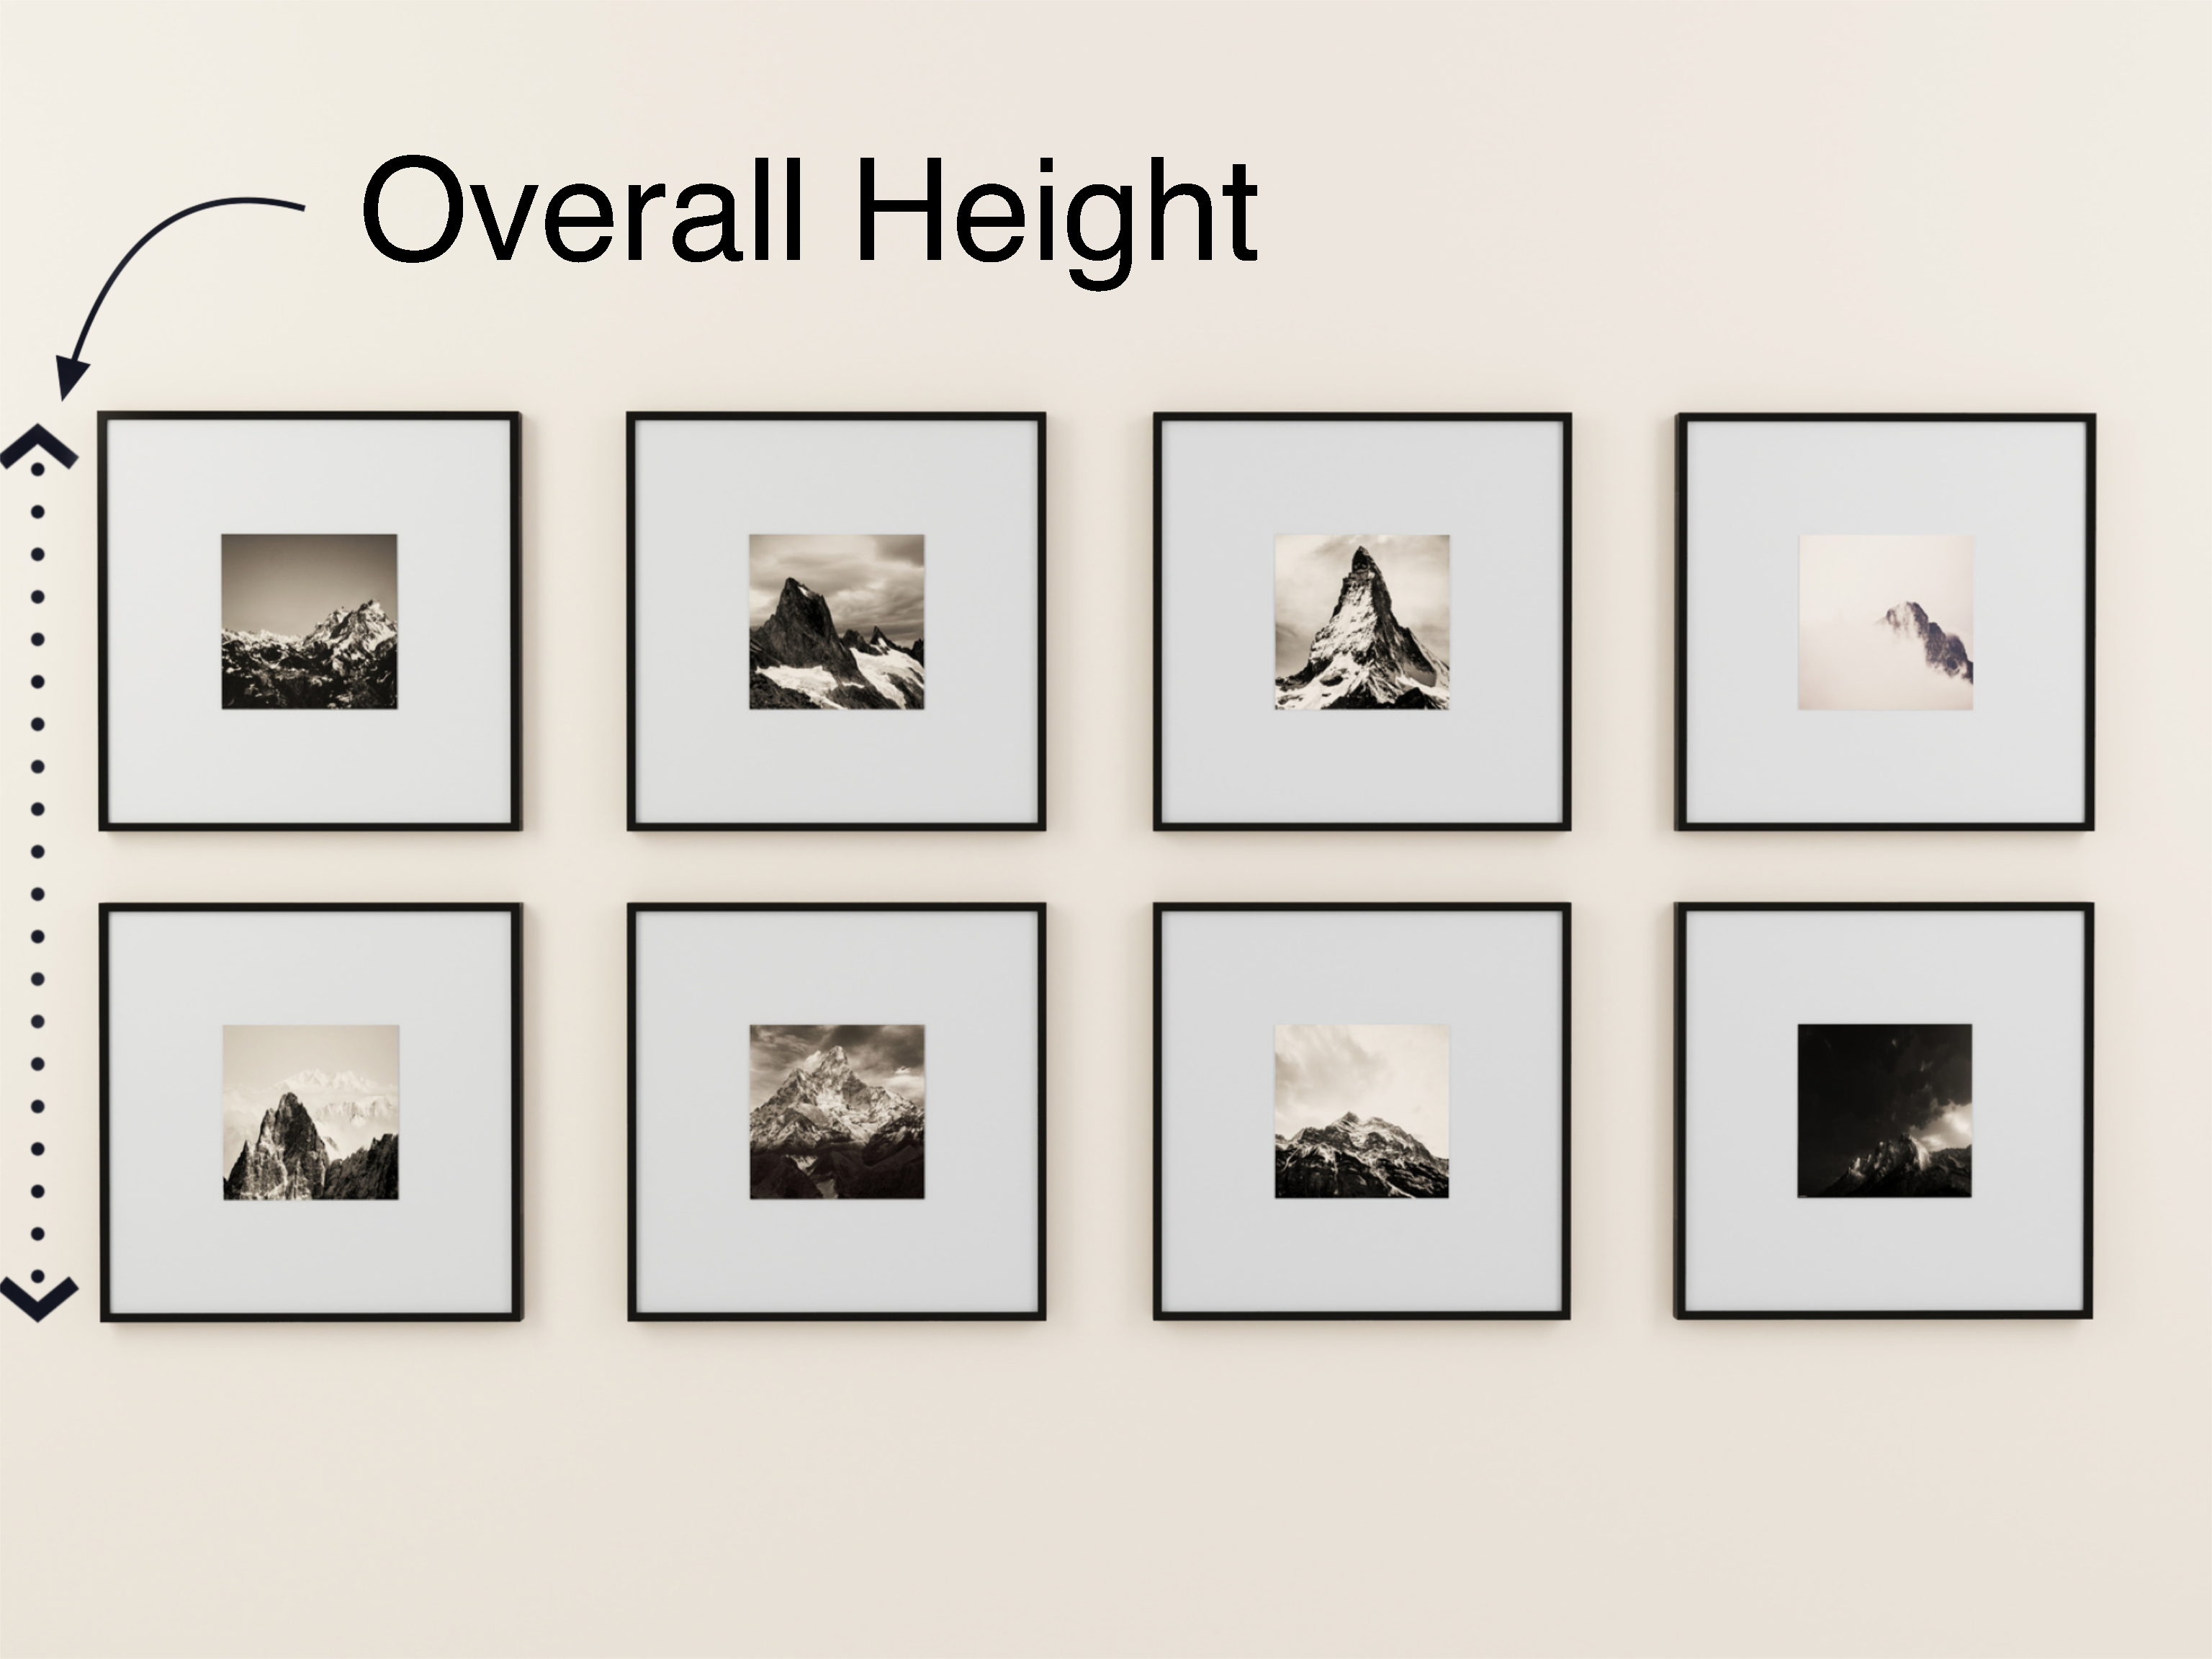
Next measure the height of your picture grouping, and just like the previous step for finding the center of the width, also find the center of your height and mark it with the pencil.
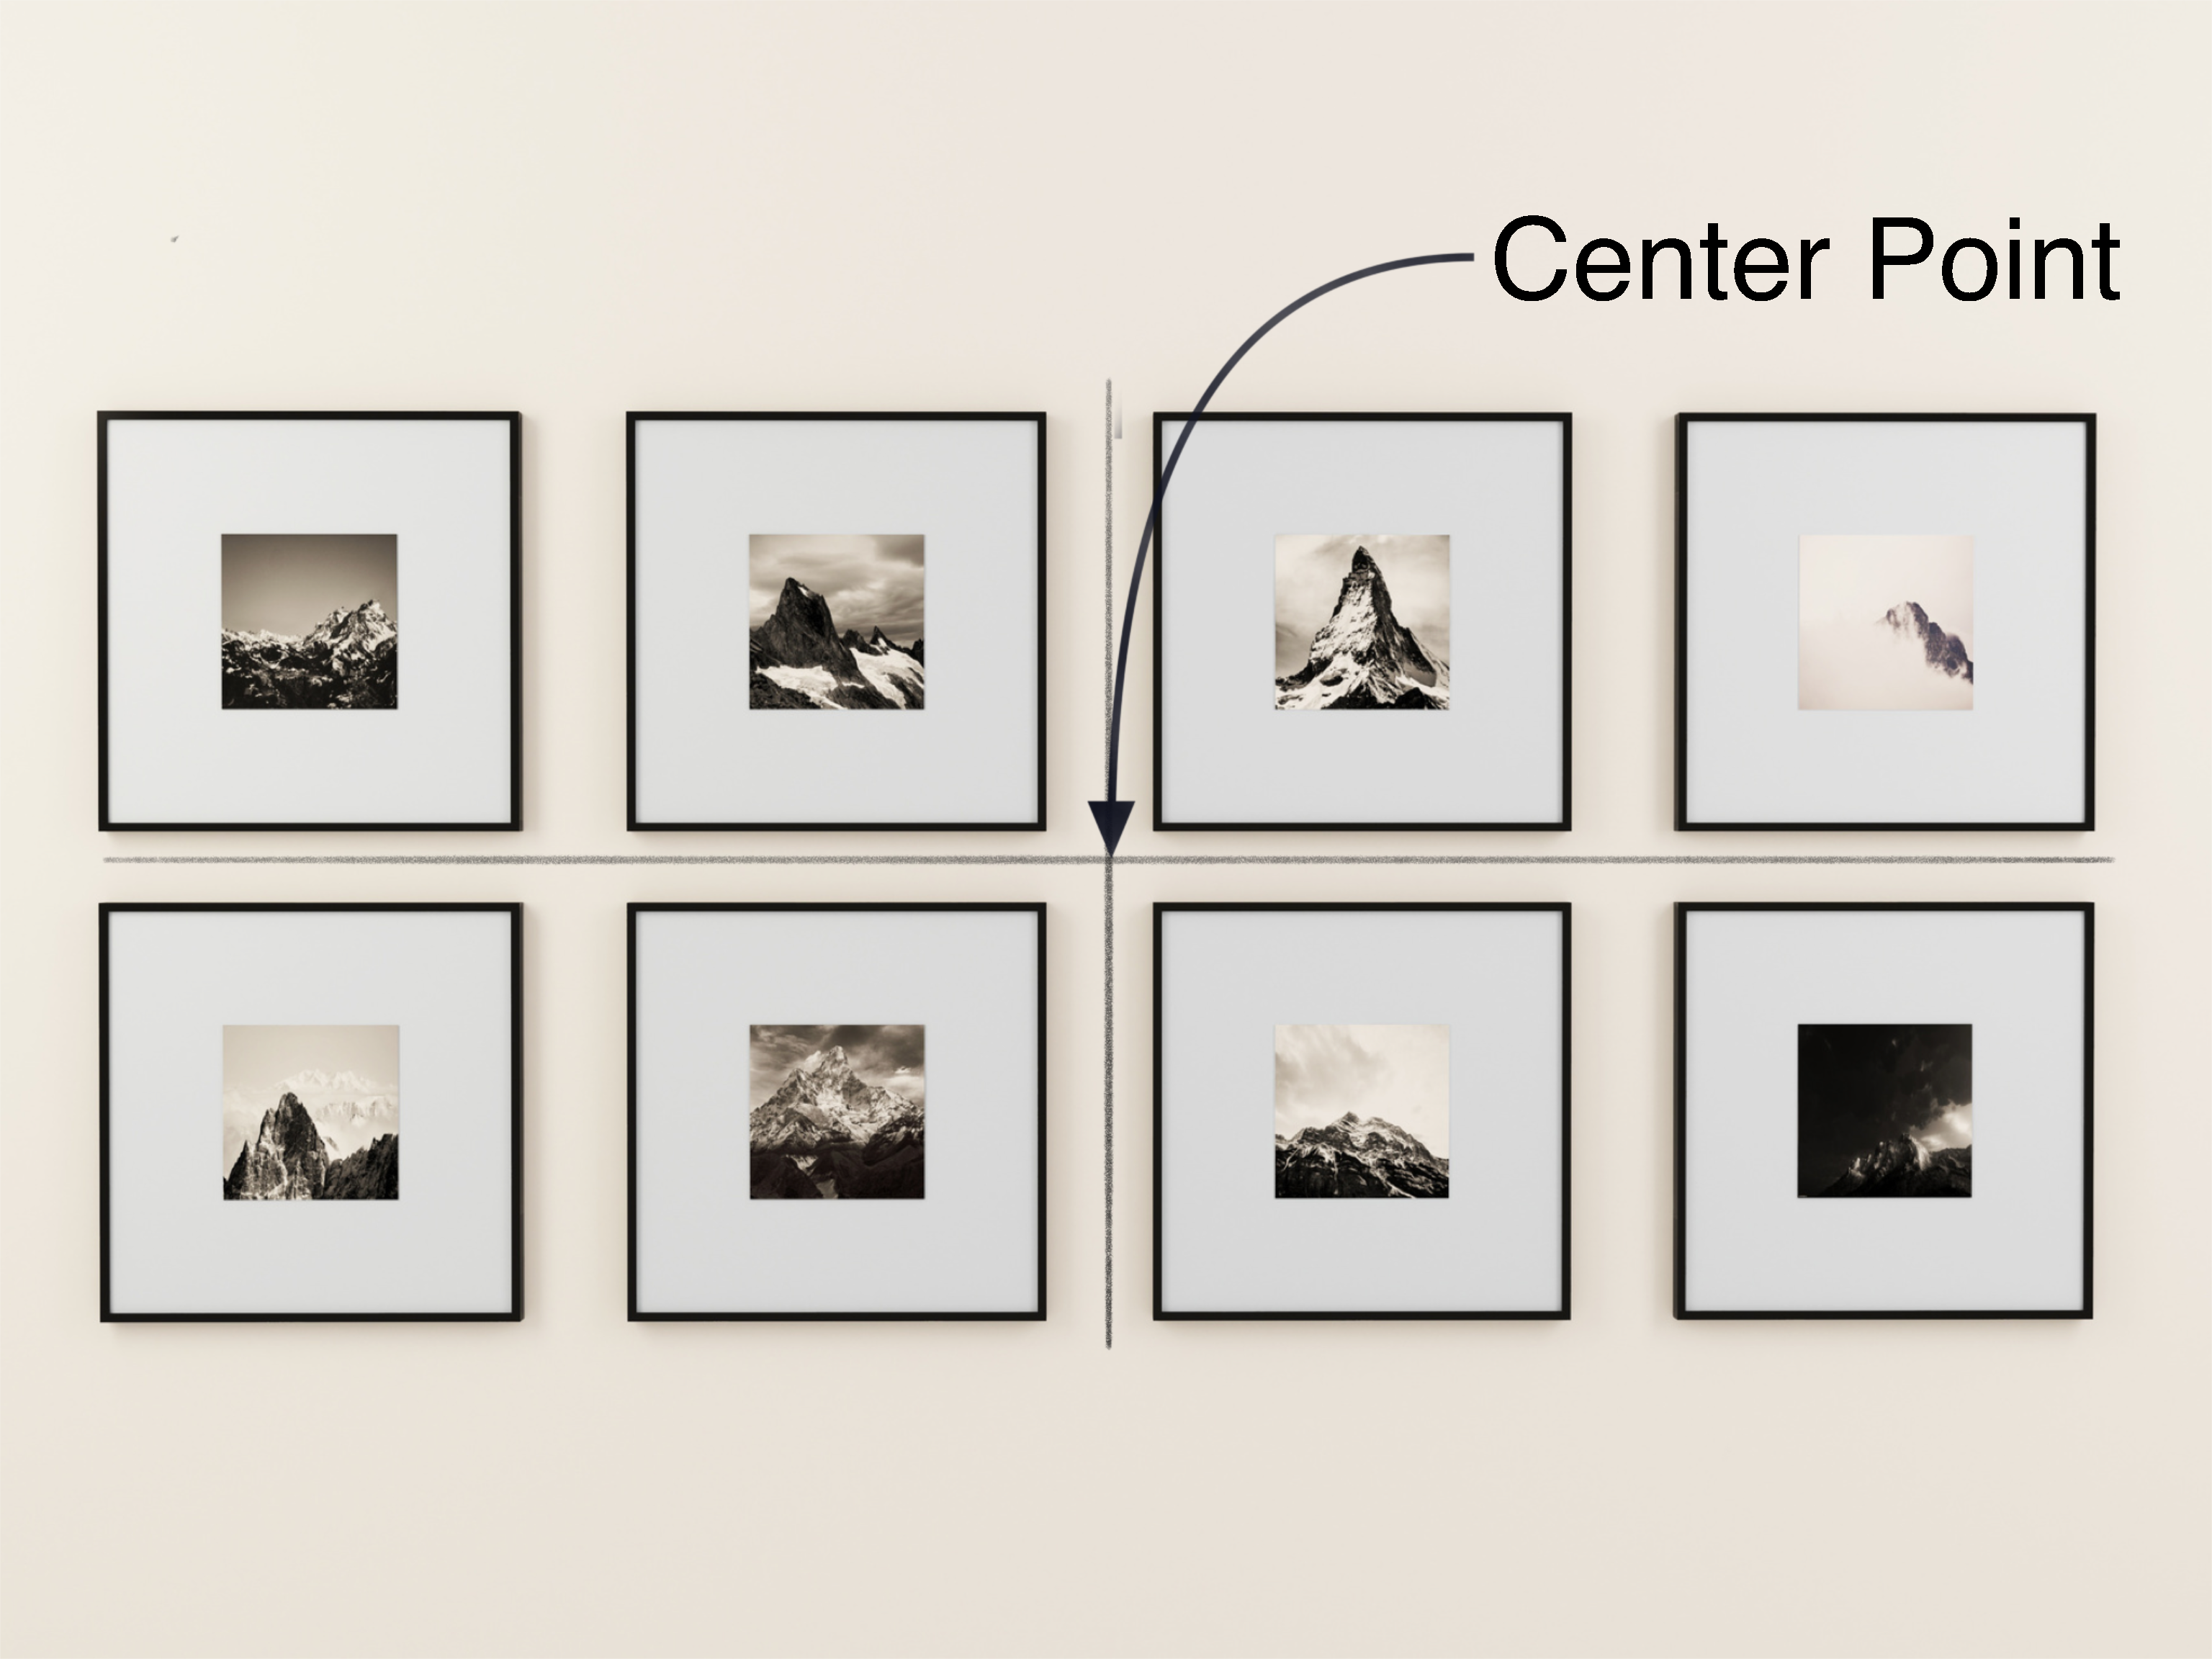
Now that you have both halfway points of width and height determined, you can locate the precise center of your grouping.
First, match up the top and bottom width marks by holding a tape measure from the mark you made at the top and bottom of your cut-outs and at the middle make a mark.
Repeat matching each side of your height center point with a tape measure and make a mark. The point where the width and height center points intersect is the middle point of your arrangement and is the starting point to have your grouping centered.
Now add the total width of your picture frame, divide it by 2 and add the space you want in between the frames.
For example, if your frame width is 12” and you want 3” of space between each piece it would be 12 ÷ 2 = 6 +3 = 9. This is the center of where you will hang your next frame.
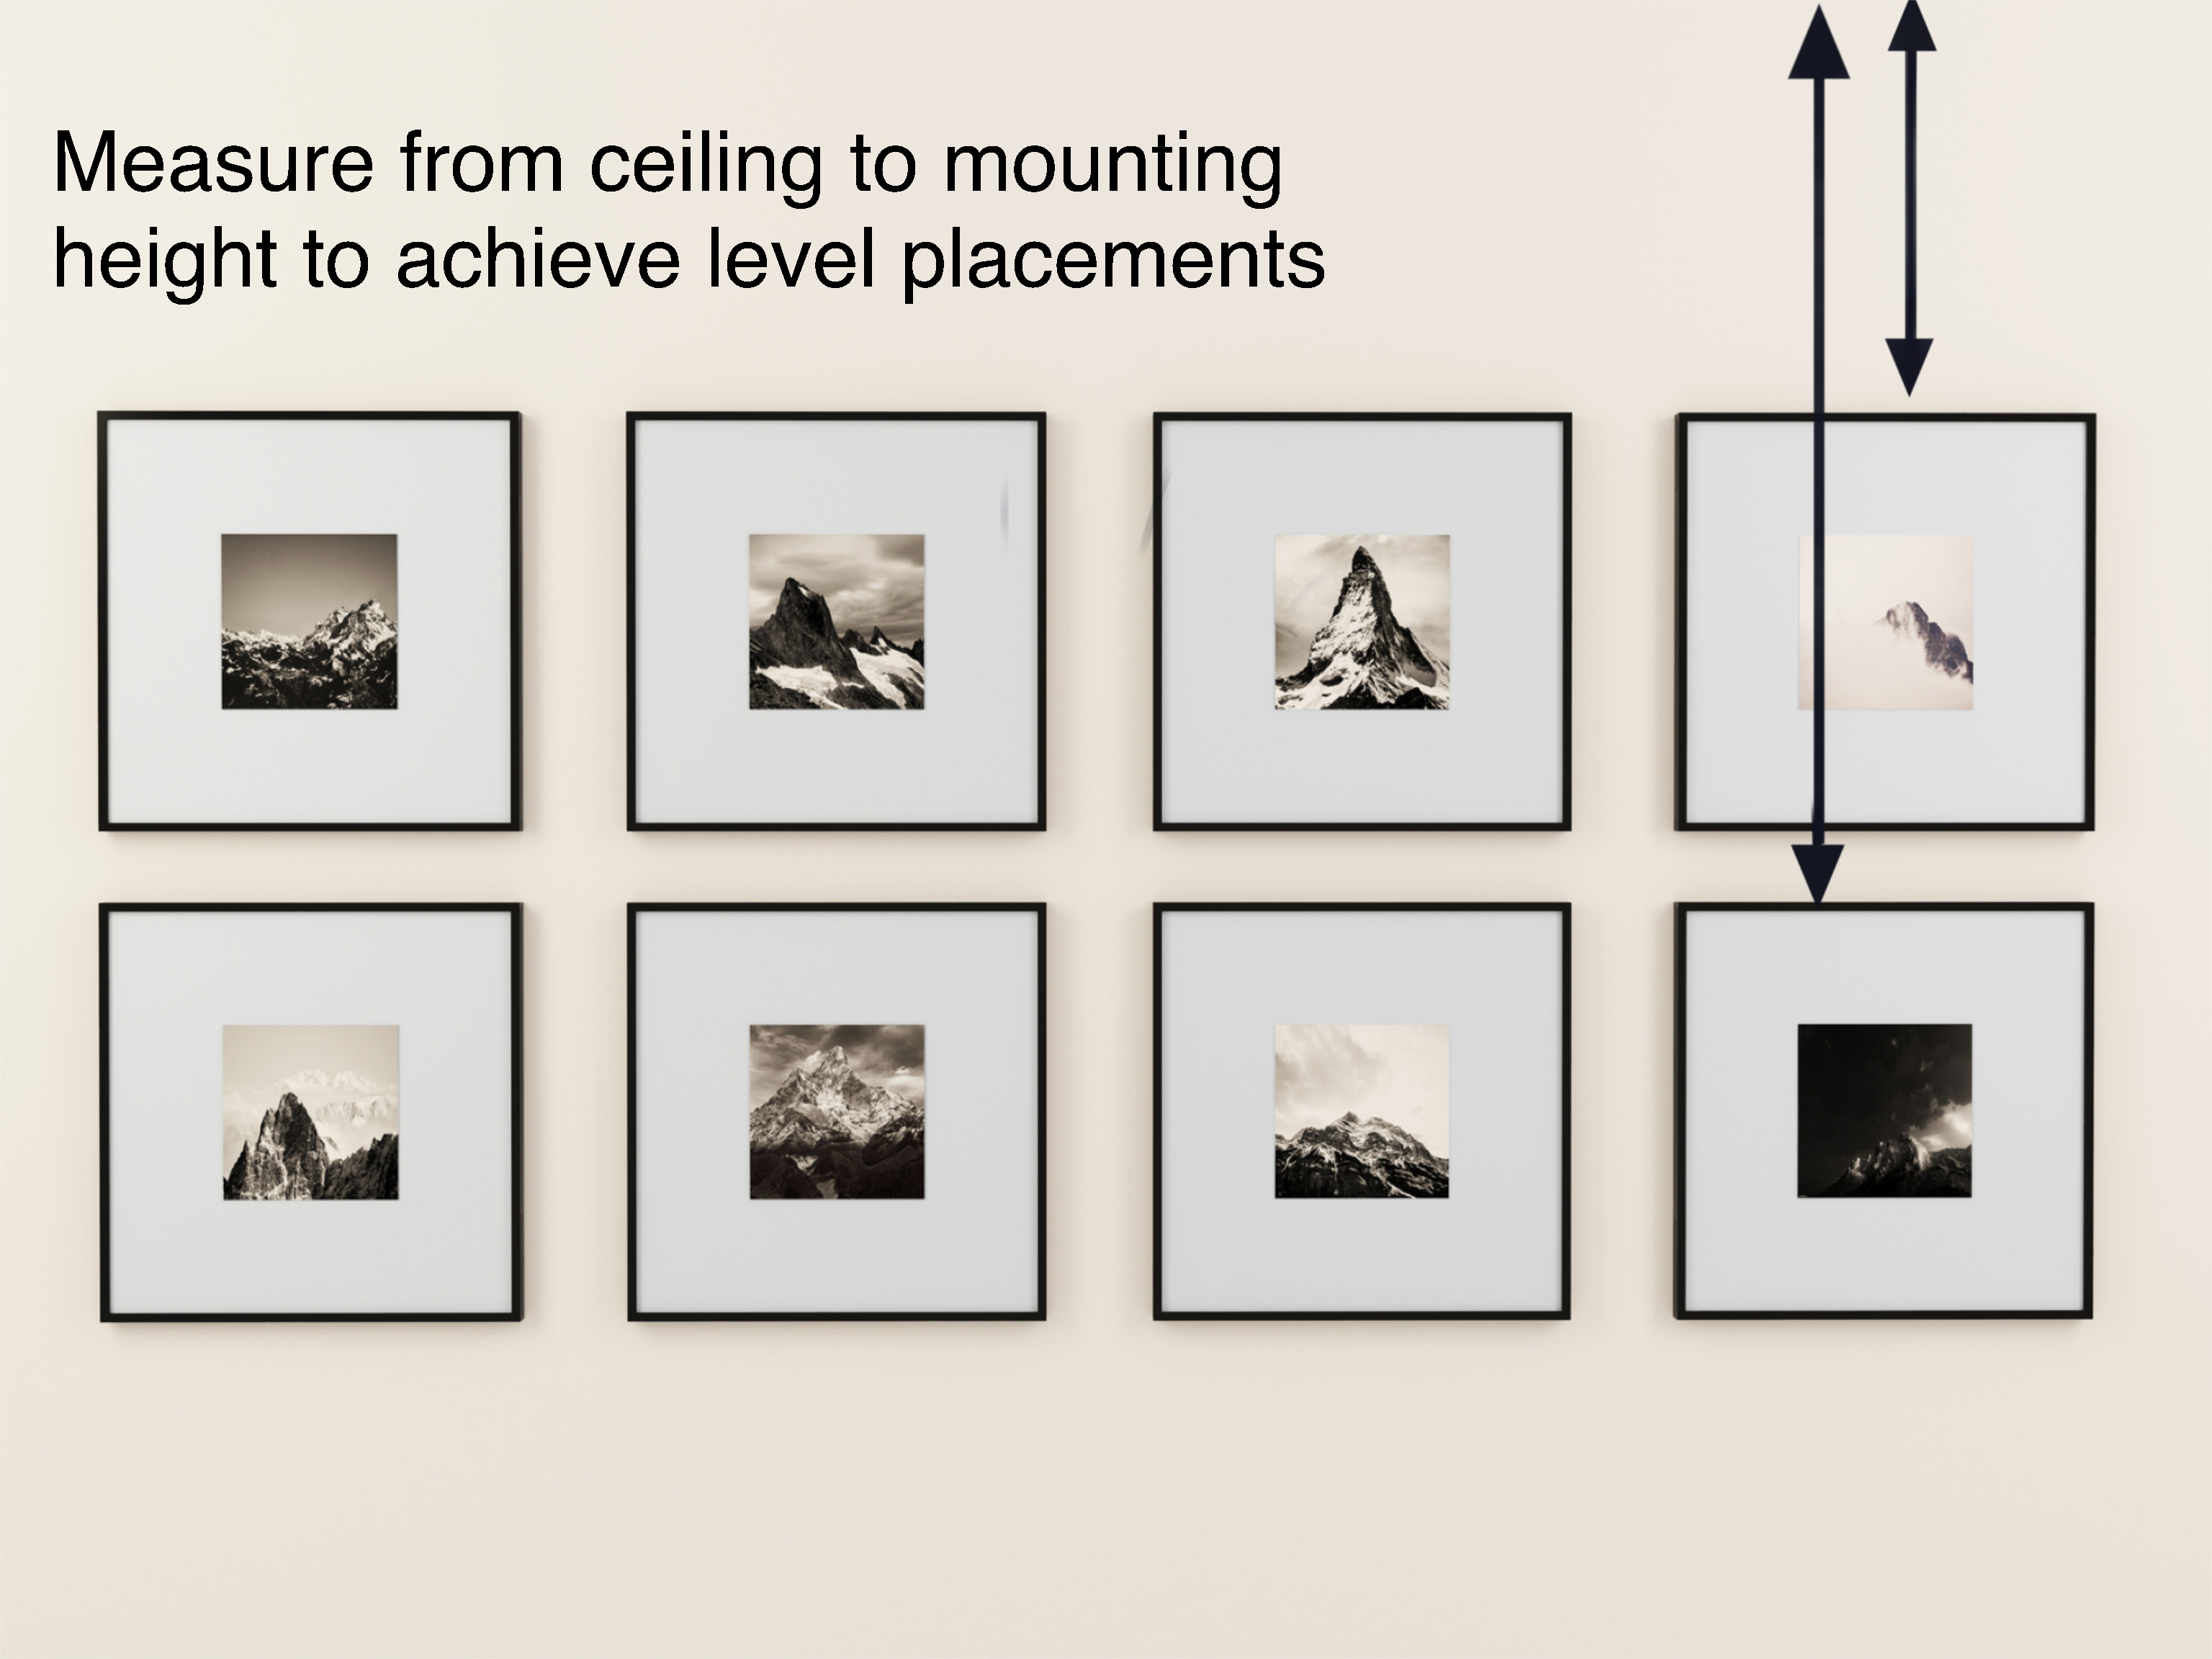
To ensure your height is level, measure from the ceiling to the point of your picture hanging item (nail, command hook, etc.) Then make a mark for the height where it intersects with center point of your next frame.
If you have multiple rows of pictures, be sure to tally the amount of space you added between your pictures, to the amount of space at the top and bottoms of your art as well when you line up your next row.
Repeat these steps for each piece of art and enjoy your perfectly aligned symmetrical art grouping!
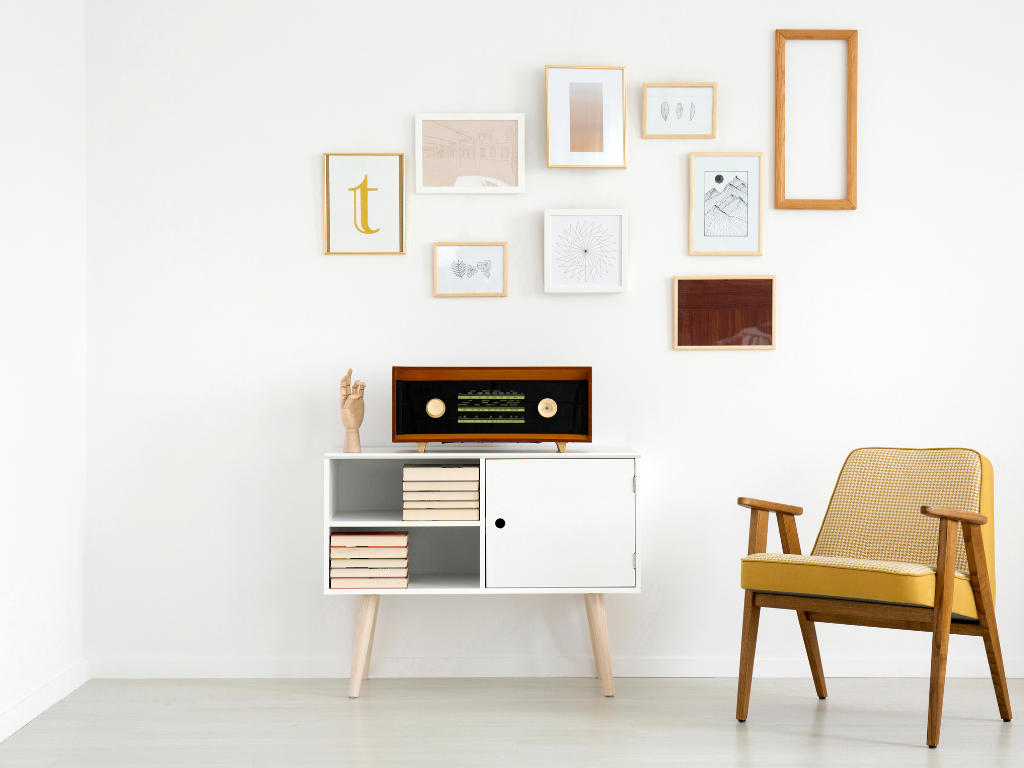
Having non-symmetrical groups is much less tricky for obvious reasons but an important tip to keep in mind prior to hanging is always measure the how far down each mounting point is on the back of the art and mark that on your paper cut-outs as sometimes the location could be quite a ways down from the top of the frame and greatly impact the over-all design of your grouping if your hanging point isn’t positioned properly on the wall.
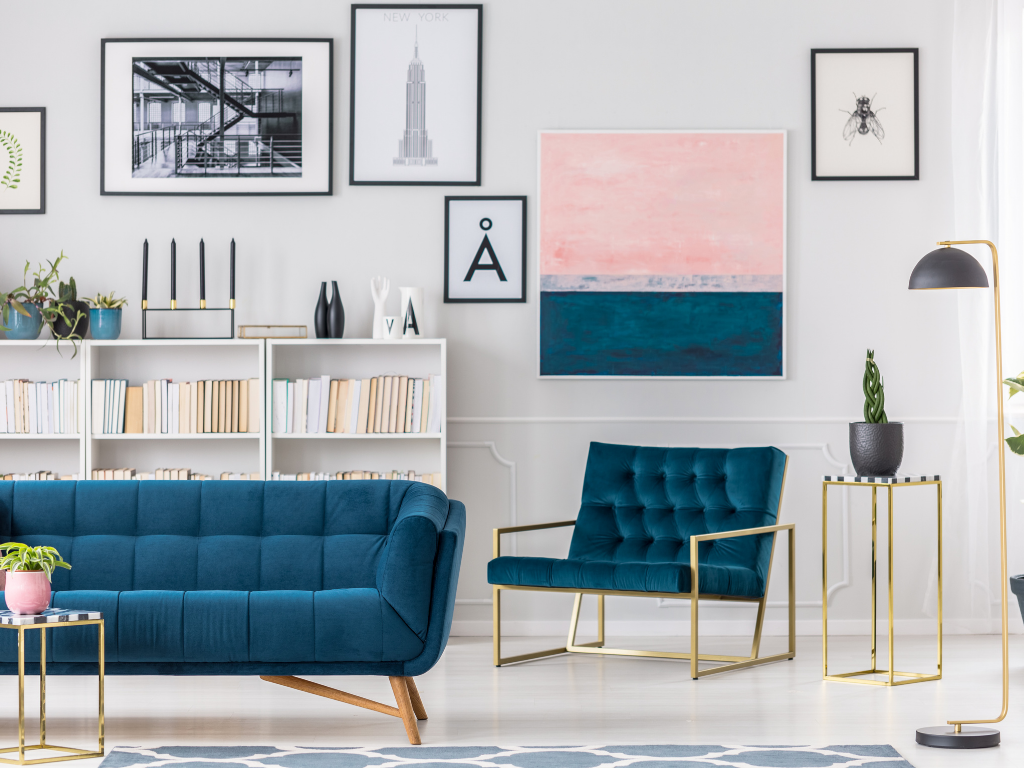
Now all you have to do is sit back and enjoy your gallery wall art collection!